Accesses the Taxonomy for a given subcategory, where you can add, edit, or remove product attributes.
Index:
- Accessing Taxonomy
- Editing Category Names
- Categorizing Attributes
- Labeling Attributes
- Formatting Attributes
- Removing Attributes
- Optional Attributes
Accessing Taxonomy
- To access, click on 'Edit' for any sub-category in the Category Manager

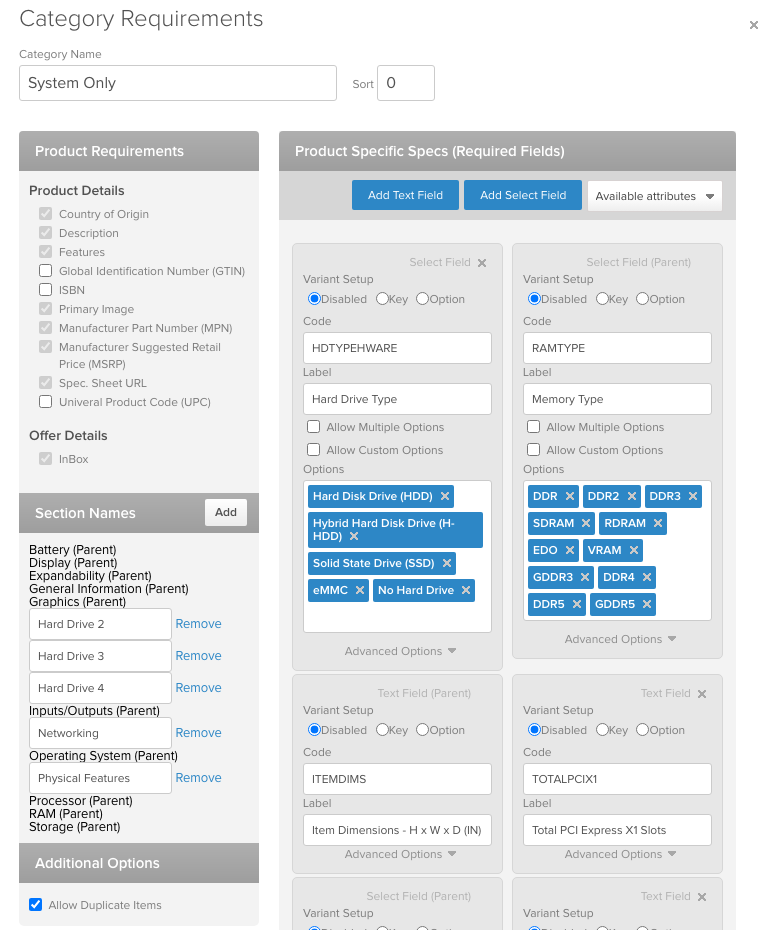
- Clicking 'Edit' opens the 'Category Requirements' overview drawer
Editing Category Names
- You can edit the category name for an existing category using the following field

- After making changes, remember to hit the 'Save Category' button at the bottom of the page
- Or if you make changes to the page, but then don't want to save them, just hit the 'Close' button
Categorizing Attributes
- To categorize attributes into sections, click 'Add' from 'Section Names' area
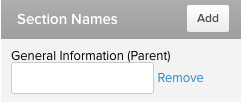
- This will add a new box, where you can name the section (or hit the 'Remove' button to remove)
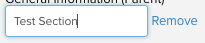
- To save your newly added section, you'll have to hit 'Save Category' at the bottom of the page
- This will close the taxonomy drawer, so you'll need to re-open it
- You can now assign attributes to the section you created
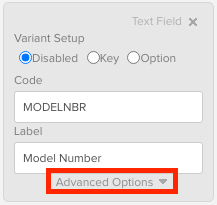
- To do so, under any attribute click the 'Advanced Options' button to expand the options
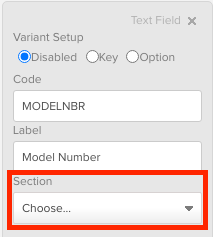
- Under the expanded options, there's one for 'Section'. Click this to view the section you created
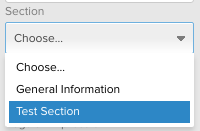
- Click to assign the attribute to whichever section you want it categorized under
- After making changes, remember to hit the 'Save Category' button at the bottom of the page
Adding Attributes
There are 3 options to choose from when adding attributes to a category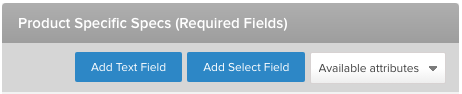
-
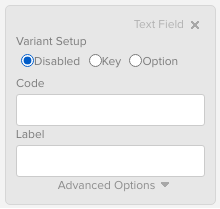
Add Text Field: Creates a new attribute that appears as a 'Text Entry' field to content creation users
-
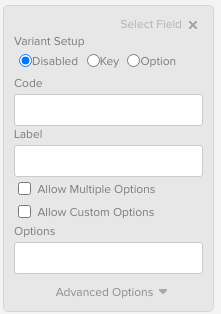
Add Select Field: Creates a new 'Select' attribute that appears as a dropdown field to content creation users
-
- To add options to a 'Select' attribute, click in the 'Options' area and type a value name, then hit 'Return' on your keyboard to save the typed value. Or, you can hit the 'x' button to remove a saved value
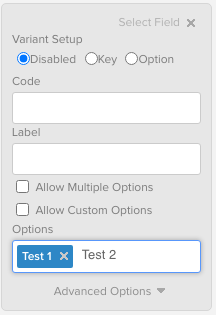
- If you have a long list of values, you can enter multiple at once, by comma separating them in a text editor and then pasting them into the field. Using a comma delimiter is great for this!

- This can be turned into a multi-select attribute, instead of dropdown, by checking 'Allow Multiple Options'
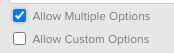
- To let content creation users to enter 'custom' values, instead of what's in the dropdown, check 'Allow Custom Options'
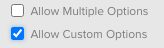
- To add options to a 'Select' attribute, click in the 'Options' area and type a value name, then hit 'Return' on your keyboard to save the typed value. Or, you can hit the 'x' button to remove a saved value
-
Available Attributes: Lets you search and add from attributes already in the Quipt database
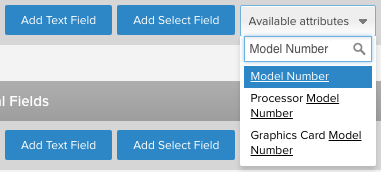
- NOTE: If adding from attributes already available in the Quipt database, it's highly important not to alter the attribute's values in any way, as this can affect other categories which may be using that attribute for existing mappings
Labeling Attributes
Every attribute has 2 fields of reference: Code and Label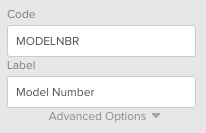
- 'Code' is the internally referenced value for the attribute within the database, and is what you'll see for the attribute when catalog mapping. This should be ALL CAPS, and cannot contain any special characters or numbers
- 'Label' is the attribute name as it appears to end users. This can contain special characters or numbers
- NOTE: Use parentheses () when denoting the 'type' of something. e.g. (GB)(DEG)(HRS)(IN) etc...
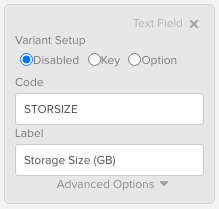
- Values within parentheses like this are used for attribute mapping for 'Tanga' specifically, but also help clarify to content creation users what value is being collected. When creating new attributes try to follow the label format for existing attributes as closely as possible
- NOTE: Use parentheses () when denoting the 'type' of something. e.g. (GB)(DEG)(HRS)(IN) etc...
Formatting Attributes
To access the formatting options for attributes, click 'Advanced Options'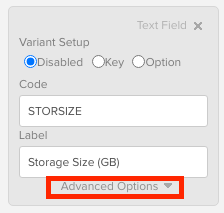
This expands to show two important fields: Tooltip and Regular Expression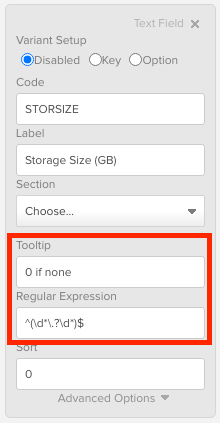
- 'Tooltip' is what shows up to Content Creation users when they hover over an attribute, and it provides them more information about what's being collected, or how they should enter an attribute
Some common tooltips we use:- select from dropdown
- type to enter custom value
- 0 if none
- type to enter custom value OR 0 if none
- space as H x W x D
- 'Regular Expression' uses regex code to determine how a content creation user can and can't enter an attribute. We can use this code to force content creation users to only enter up to two decimal points, use a certain number of spaces, or only use certain characters. ReGex Testing is a great free tool for creating new regex codes, or choosing from a library of existing
Some common regex expressions we use:-
^(\d*)$
Only allows positive integers
-
^(\d*\.?\d*)$
Only allows numbers (with or without a decimal)
-
^\d{1,5}(\.\d{1,2})? x \d{1,5}(\.\d{1,2})? x \d{1,5}(\.\d{1,2})?$
Only allows numbers(with or without a decimal)
Only allows up to 2 decimal places
Forces spacing as H x W x D
-
^(\d*)$
Removing Attributes
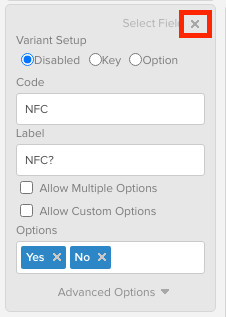
- To remove an attribute from the selected category, click the 'x' button in the top right corner of the attribute
- After making changes, remember to hit the 'Save Category' button at the bottom of the page
Optional Attributes
- To make attributes 'optional for content creation users to enter, instead of required, add the attributes to the selected category from the section of the page titled 'Optional Fields'
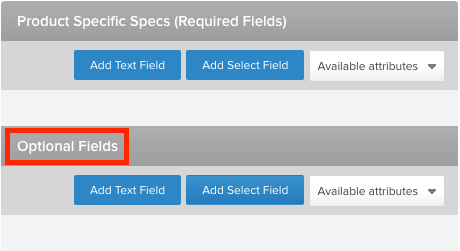
- Keep in mind when catalog mapping, that you can't always depend on content creation users filling out optional attributes. A good way to check for empty attributes is using = '' or != ''
Comments
0 comments
Please sign in to leave a comment.